
As I write this, it’s October. I have a number of family members who I consider knit-worthy, whose birthdays were back in June. Although time is real, it’s also a construct, so unless I personally gave birth to these knit-worthy people, if I don’t have a knitted item for them on the date that coincides with the date of their birth, their birthday will be on the date when I have something to give them.
My husband’s birthday was first, according to the calendar, but neither of us could think of anything he particularly wanted as a birthday present, so I showed him a bag of plant-dyed yarn that I had dyed from found materials back when I was doing that. But the main yarn was several skeins of more recent indigo yarn that I dyed when a friend had made a big vat that she couldn’t use up by herself, so she invited me over to plunk in some of my yarn. Charles’ birthday passed with only a promise of a sweater, but June is too hot for sweaters anyway. I also wanted to give my sister a knitted birthday birthday present, but her birthday is on the first day of summer, and it was sweltering. The very idea of wearing a nice, toasty piece of woolen knitting in such conditions was enough to make you break out in hives, so that also would be postponed. But I did get to work on a calendar-motivated birthday present for my son-in-law, who had made me a Harry Potter wand for my own birthday.
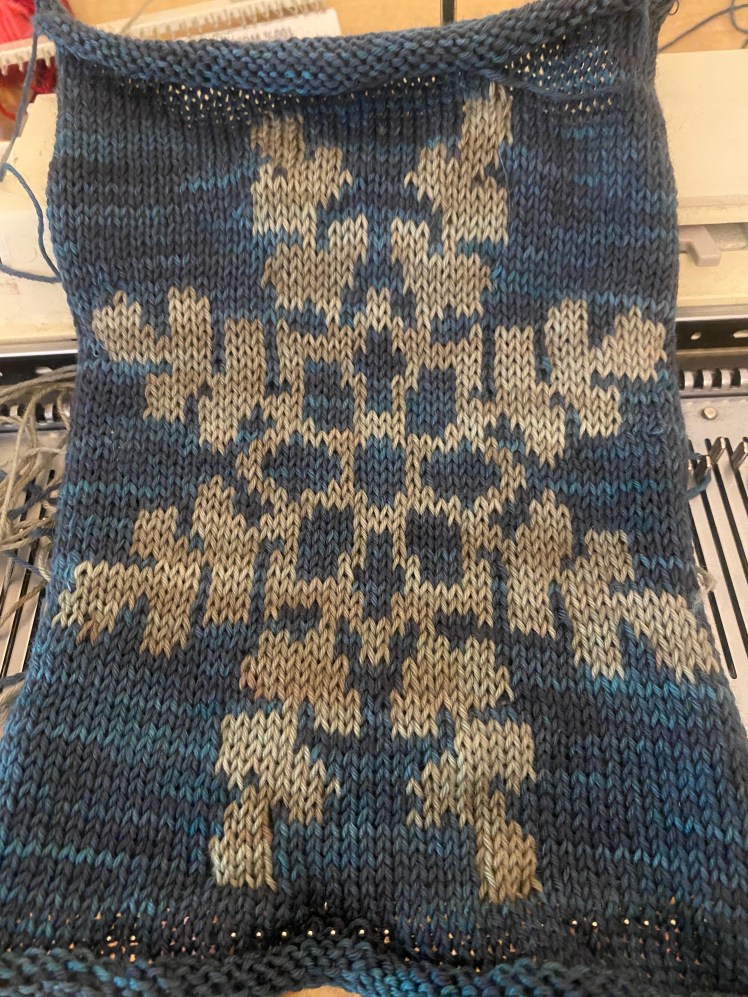
I have had my Brother KH965i electronic machine for over nine years, and I’m still scared of the electronic features. I have used some of them repeatedly, although not often enough to make the procedures automatic muscle memory that would allow me to use them without trepidation. My son-in-law loves snow, and once I showed him a sweater with a large snowflake motif that someone had once knitted using an LK150. I keep an LK150 at his house, so theoretically he could do this, and he mused vaguely about someday knitting such a sweater for himself when he finally gets around to learning how to using the machine that is clamped to his kitchen island. As a way to motivate him to someday doing that, I decided to knit him a scarf with the big snowflake motif as inspiration. I didn’t know how to do it on the LK150, but doing it on the KH965i might be less of a stretch. It was still going to be a big stretch though. I was pretty comfortable with the procedure for knitting stranded patterns that were already in the machine’s memory in the basic all-over format, but I had never knitted them as isolated motifs, which requires a different procedure. Also this snowflake wasn’t preprogrammed into my machine and would require me to input it. I had input patterns into its memory before, but it was a while ago and the patterns were much smaller than this big snowflake. Just anticipating all these unfamiliar procedures produced a big knot of fear in my innards.
And my fears were justified. Of course inputting and programming the various operations become easy with repetition and practice, but the first time, or the first few times until it becomes muscle memory, there are a million steps to follow and a million ways to miss one or many of them. Then I feel like a cat stuck in a tree. How do I get out of this mess? The first mess was inputting the 44 stitches and 64 rows of my big snowflake pattern and losing my place repeatedly in pressing the white button and the gray button across a display panel that only went up to 10. When I thought I had it right, I knitted a swatch. I didn’t have it right. Fixing input errors is its own process, and it took me days to find exactly where my errors were, get the patterning sequences right, and hit the right buttons at the right time so that the machine retained the information. I wish I could remember what I did wrong and then what I did right, but I did get it right by Wednesday, after starting the inputting on Sunday. I was swooning with relief when I did get it right.
I savored my triumph that Wednesday, and on Thursday I girded up to slay my next dragon, which was setting up the programming so that the motif was centered over 60 stitches on the right-hand side at the start of the knitting. At the end of the knitting, I would repeat the procedure with different numbers so that the motif would be centered over the 60 stitches on the left-hand side. Diana Sullivan has a video explaining the process, and it’s a very good video, but her example wasn’t specifically applicable to my situation. When I’m learning something like this, I need the explanation to be specifically applicable to my situation. So I missed something and my swatch turned into gibberish. Once again, I was that cat stuck up a tree without a way back to the ground without the fire department coming with a ladder to fish me out of the branches. I called the fire department, namely Tanya, and we set up a FaceTime call for that evening, after she had a chance to watch the video, study the manual, and test out the procedure on her own machine. I needed her to supervise my every move and idiot-proof my button-pushing. I think I have mentioned that she is a very, very good friend. In fact, she’s my machine knitting fairy godmother, which is a whole other level of being a good friend.
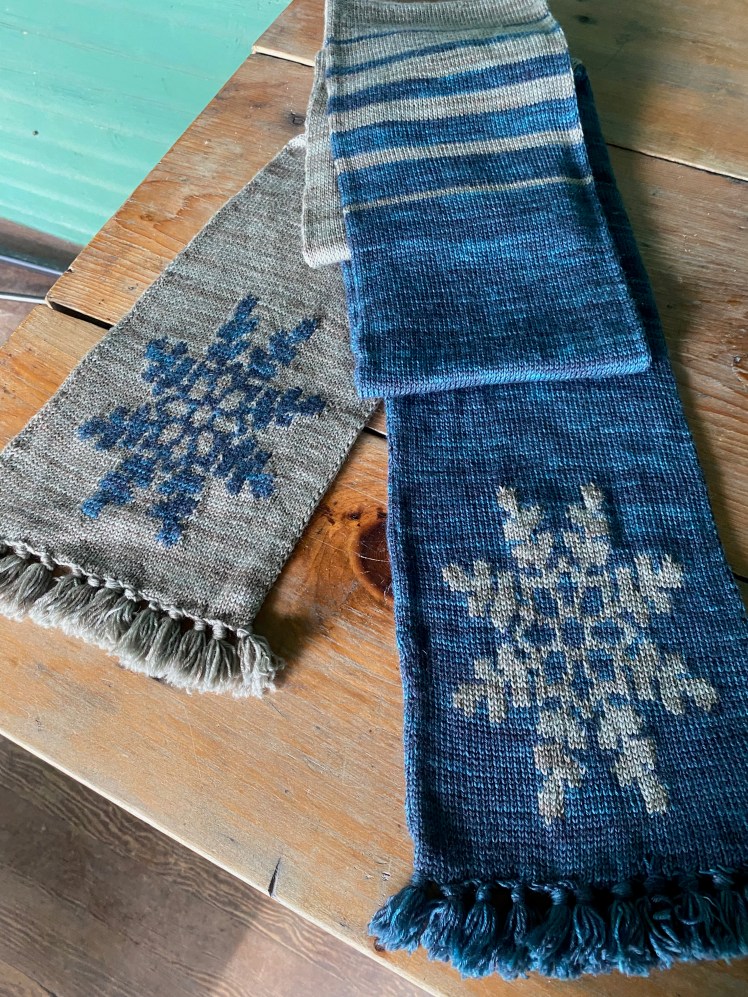
I called Tanya that evening on FaceTime and pointed the camera at the buttons on my knitting machine so that she could tell me exactly which ones to press and when. The reason for my panic was that I had somehow set the machine to knit stray stitches off to the side of the motif, and I was afraid I had done something bad to the stitch pattern itself. But it knitted perfectly well when I had the settings on Selector 1, which is for all-over knitting, so clearly the problem was something I had done when I had the settings on Selector 2, for motif knitting. But with Tanya guiding my every move, we quickly navigated past my sticking point. I think that was my failure to hit “step” for a second time after entering which needle should be the edge on the right, and then which should be the left-most needle. I’m castigating myself for not having taken notes, but fortunately for me, Tanya had me covered, and she emailed me a step-by-step summary of the procedure, including the numbers I needed to enter. After our consultation. I got the motif knitted perfectly and easily on the first side of the scarf at the bottom, and she told me which numbers to enter in order to mirror the placement of the motif when I got to the opposite end of the scarf.
I had hoped to make another scarf soon after finishing this first scarf so that I wouldn’t forget what I had learned and so that I wouldn’t be so afraid of my machine’s electronics, but that didn’t happen. Now I have forgotten the procedure and am back to being afraid of my machine again, but looking at the text and email exchanges between Tanya and me has refreshed my memory to some extent. Next time probably won’t be so terrible. Tanya told me that repetition and recency would be the cure for my Luddite trepidation. Four months later, I have missed out on recency, but repeating information after semi-forgetting it is even more effective in moving the information into the parts of the brain that most permanently hold memory, according to research into language learning, and the principle should carry over into learning machine knitting. I promised my older daughter a similar scarf when I was giddy from my success with the prototype, and I still plan to make it for her.
The scarf was fully assembled and finished in time to present it to my son-in-law when I saw him a few days after his birthday.
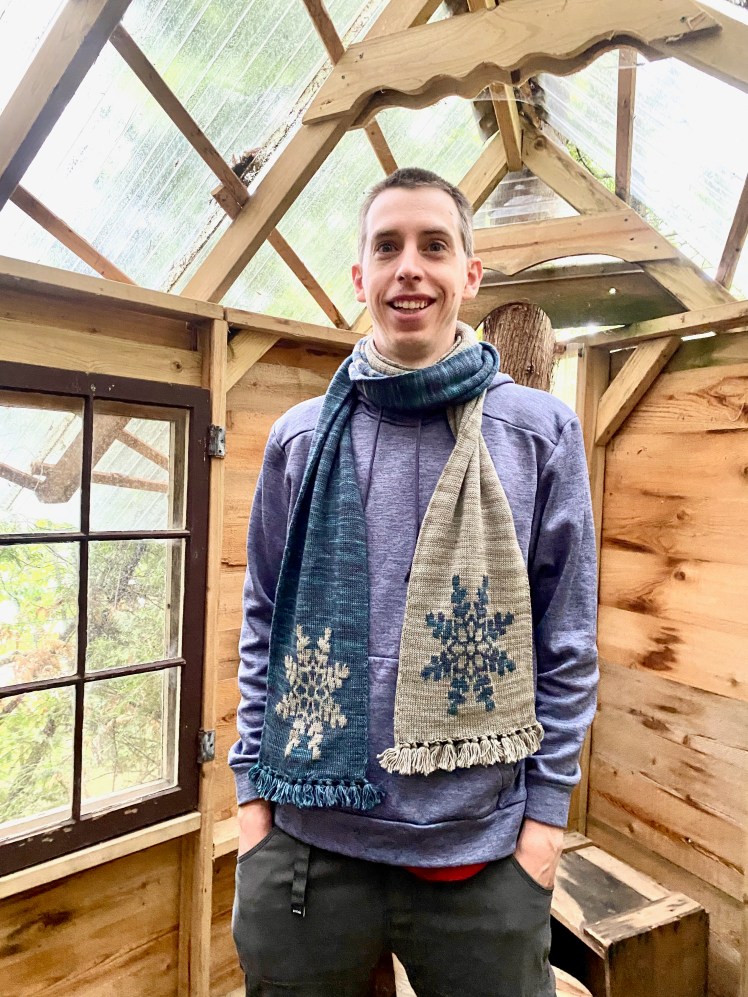
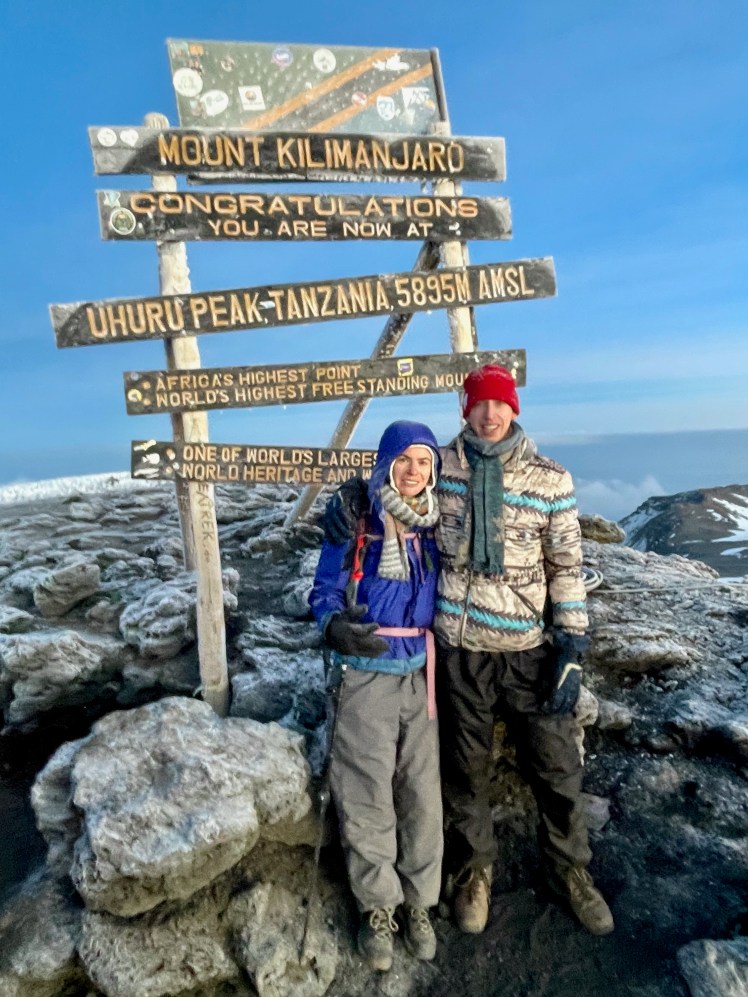
He wore it when he and my daughter climbed Mount Kilimanjaro in August.
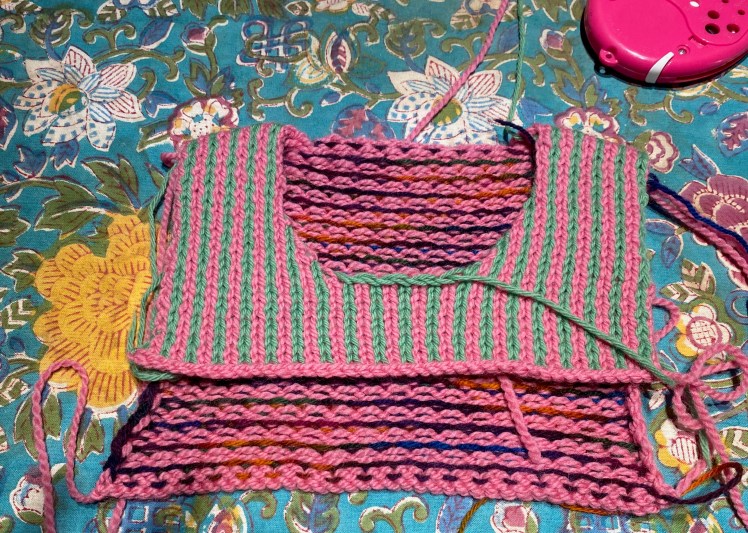
The next June birthday that I knitted for in October was a short, wide, slipover vest for my sister. This was an opportunity to find a solution to a question that had arisen when I was making my cats and mice fraternal twin set on the LK150 using the Needle Beetle. This device is useful for knitting stranded patterning in two passes, one pass for each color, by setting the levers and needles in opposite directions for each color. In one direction, the needles are in hold position and can’t be knitted, and in the other direction, those are the needles that will be knitted. That meant that hold position can’t be used for short-row shaping while doing stranded color work, which required me to create short-rowed shoulder shaping in wedges of plain knitting.
A solution to this dilemma suggested itself in a free pattern on Ravelry, Minas Vest, which has 1×1 alternating stranding in a top-down, European dropped back construction. I have been really interested in this method of garment construction, which looks like a plain unshaped dropped shoulder on the front but fits like a short-rowed shoulder slope. That’s because all of the shoulder shaping is done on the back, in short rows built out in either direction from the sides of the neck, starting a couple of rows after the cast-on. The number of short rows on the back is twice what normally would be done there because it includes the number of short rows that would normally be done on the front as well. The back has a slanted line heading downward from the nape of the neck from which the rest of the back heads down the body, while the front is knitted upward from stitches picked up from the cast-on on the back, and then straight downward after it goes over the shoulder.
How to adapt this idea to a knitting machine when you are simultaneously carrying out an operation that prevents short rows, like 2-pass stranding on the LK150? My solution was to e-wrap all of the stitches for the width of the garment from shoulder to shoulder using the main color (Color A), then cut the yarn with some extra length at either end, and unravel all of the e-wrapped stitches except for the stitches at the neck. Then knit the remaining stitches for the neck for two rows in Color A, which leaves Color A on the right side of the machine. On the right side, E-wrap however many stitches you want for the first set of “short rows” using the dangling end of the cast-on, then use the working yarn to hand-manipulate stitches into the e-wrap. Set the needles for the stranded patterning and knit the first pass of the row with Color A. Color A is now on the left side of the machine, so you e-wrap the same number of stitches you added to the right side, and use the working yarn to hand-manipulate the first row of knitting into those stitches. Thread Color B into the feeder and complete the first row of stranded patterning, knitting left to right. With Color B on the right, set up the needles for B to knit first, change to Color A on the left, and complete the second row of stranded patterning on the existing stitches. Every time Color A is on the right side of the machine, repeat the procedure for adding “short-row” stitches. When all of the “short row” stitches are added, knit downward and finish the back. For the front, pick up stitches from one of the shoulders on the back to knit one shoulder at a time with increases for a round neck. When there are enough stitches, put the first half onto waste yarn and knit the second half the same way, with stitches cast on at the bottom of the neck opening to equal the number of stitches on the back. I swatched it, and it worked.
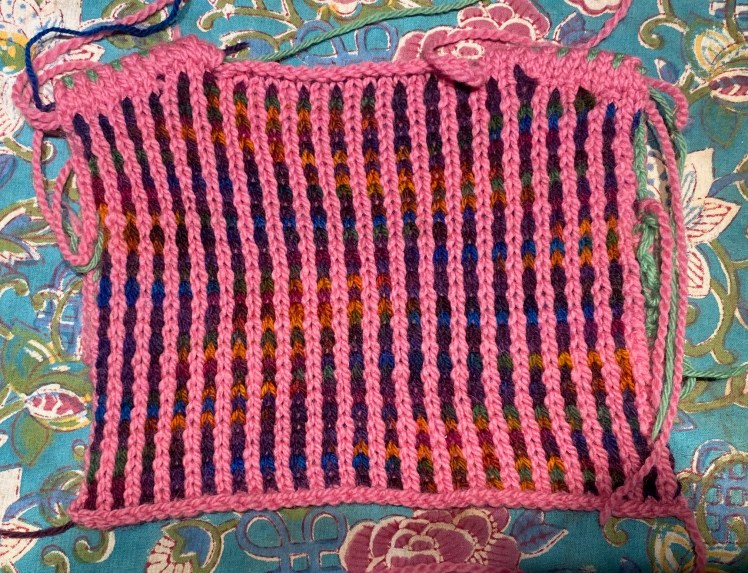
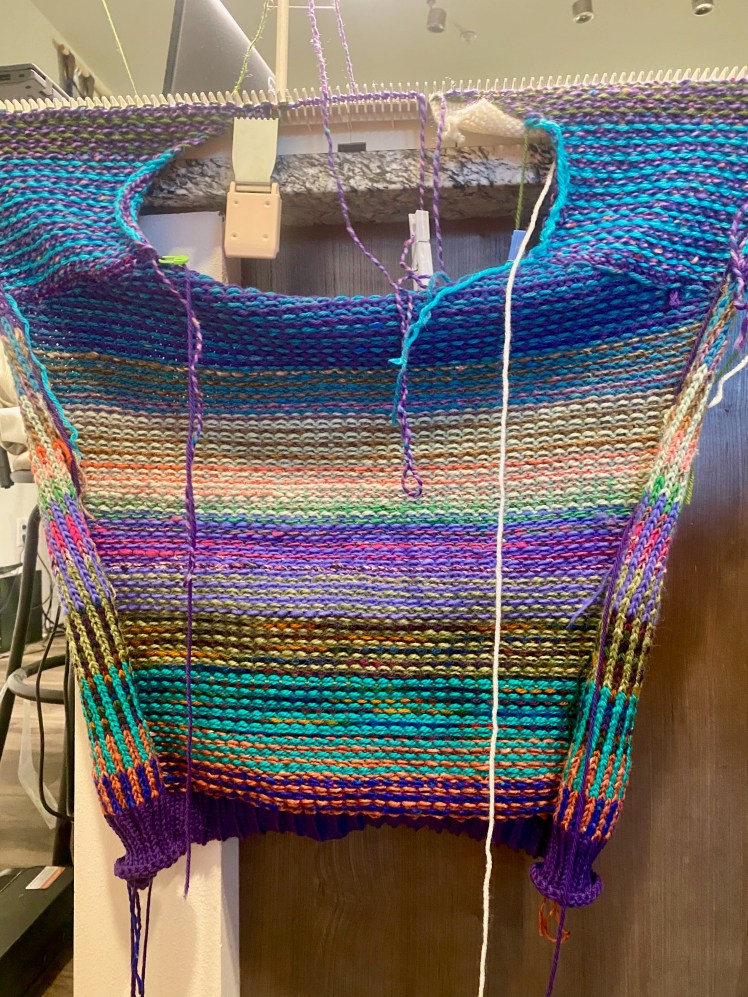
Now I could work out the numbers for my sister’s birthday knitting, inspired by the Minas Vest, and start knitting it. I was knitting it at my daughter’s house, so my palette was limited by the yarn I was able to pack, which was mostly worsted from ancient stash. My sister’s color preferences are dark and sober, so I chose a lot of dark greens, purples, and blues, with rusty oranges for contrast, because orange makes colors look better. I don’t know why more people don’t know that, but they will think you’re a color genius if you combine colors with orange. I used up the last of a Noro long-change multi on the back, and it had an eye-catching fuchsia streak that looks anomalous and out of place to me, but I got a lot of compliments on that specific color sequence.
I chose not to match the front with the back on the top part of the garment, before the side seaming, but I did intend to match up the two sides at the seams, and I took careful notes indicating the rows where I did the color changes when I knitted the back so that I could do the same when I knitted the front. But when I got to the row after I joined the two halves of the front, I got my A and B colors off sequence so that I couldn’t align the color changes according to the row numbers on the front. I have finally figured out what I did wrong. There’s a 4-row sequence in stranded knitting with a Needle Beetle or on a machine that requires two rows to knit 2-color patterning. You start at the right with Color A, at the left with B, at the right with B, and at the left with A and knit it back to the right, which brings you back to the start of the sequence. I didn’t take that into consideration when I was doing the neck shaping. After I joined the left and right, I was starting the rest of the knitting at the midway point, with B on the right, so from that point on the color changes were going to be off-kilter. I had to give up on tidily matching the striping on the front and back. In the course of knitting the pieces on the knitting machine, which shows only the purl side of the knitting, I realized that the purl side was just as attractive as the front side, so I finished it very carefully so that there would be no visible ends to to prevent it from being worn either way.
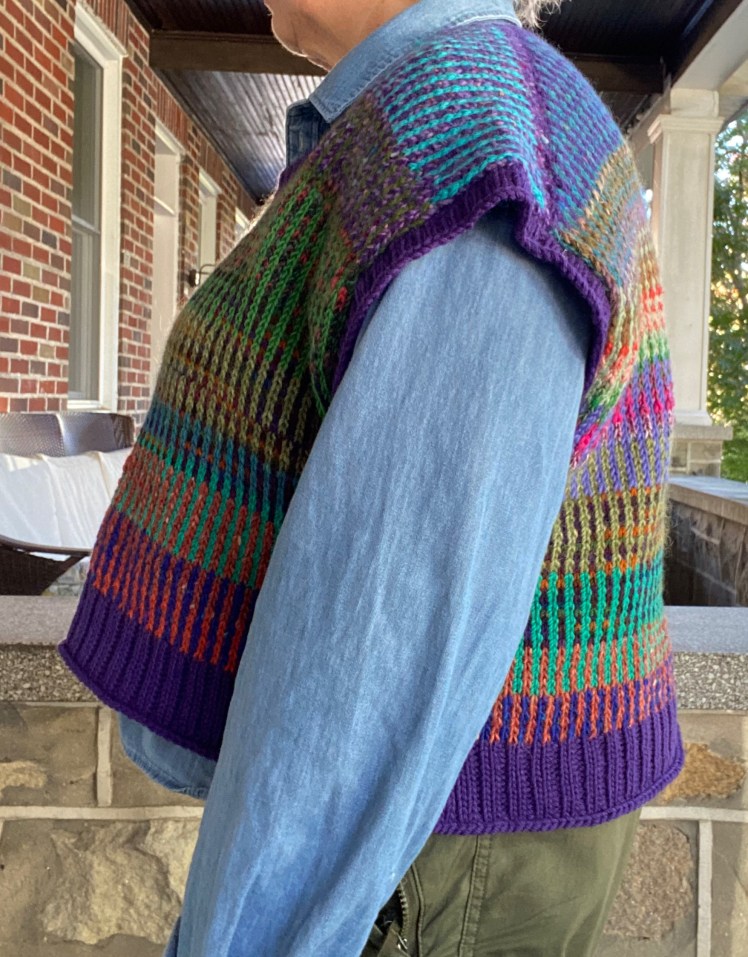
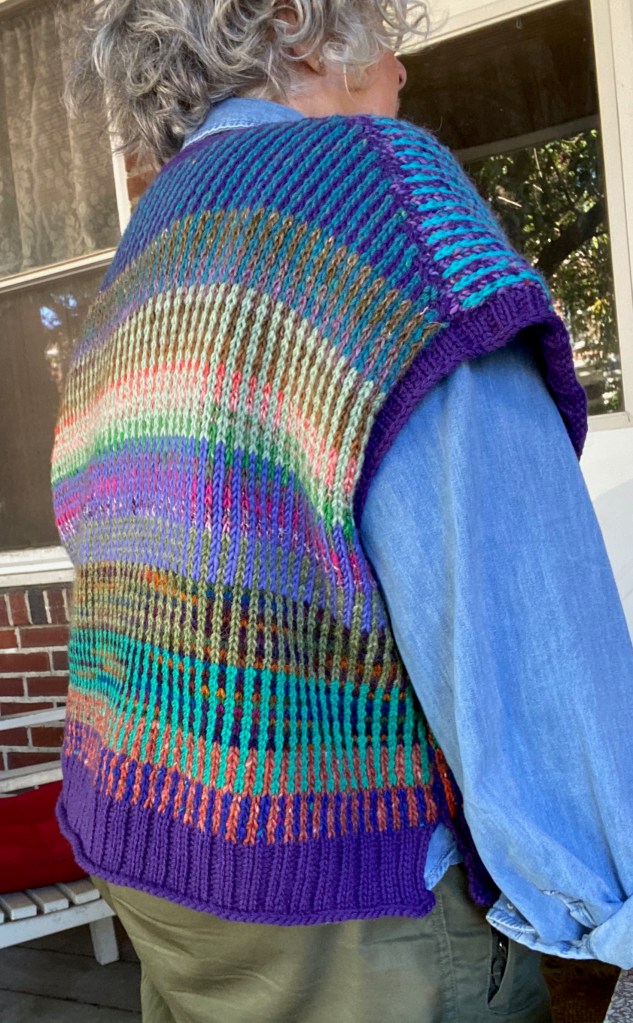
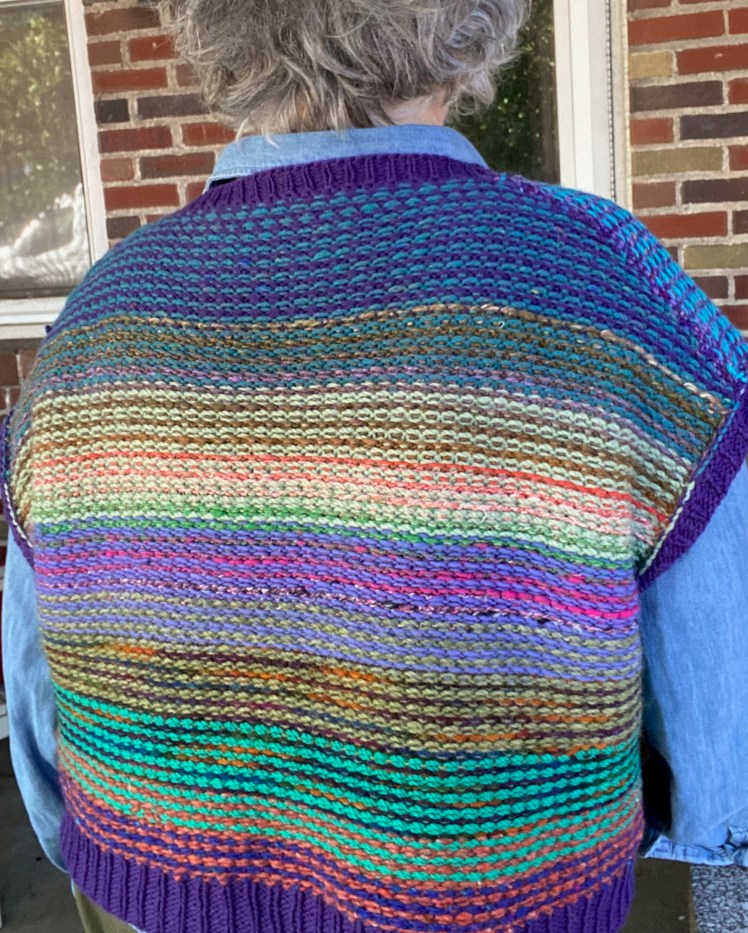
Me modeling:
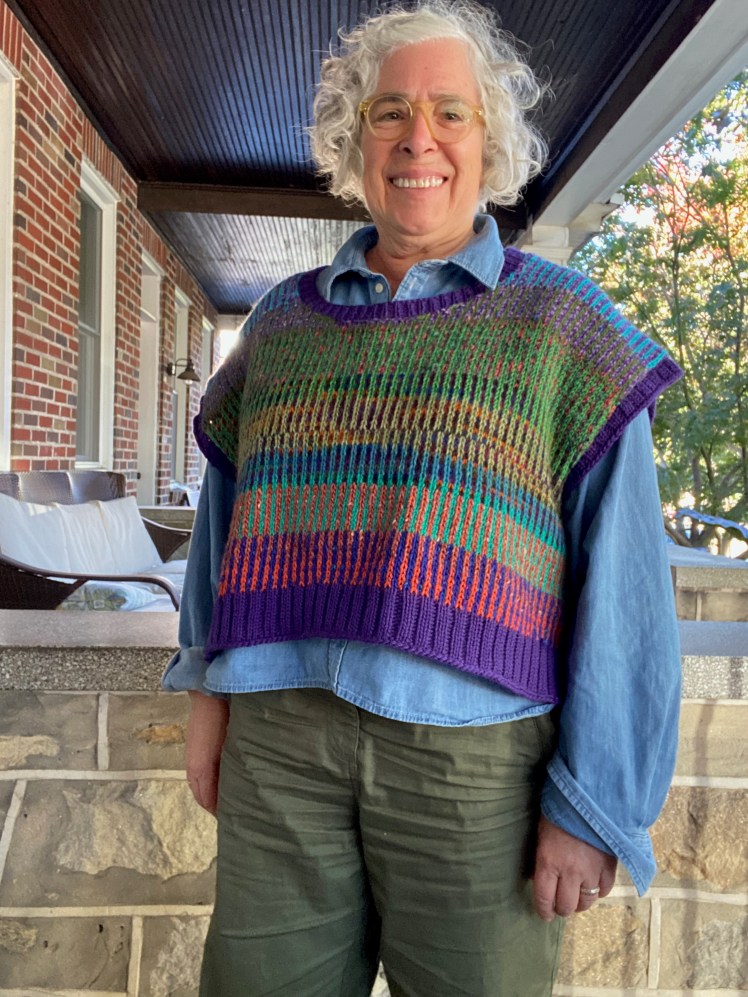

When I presented the vest to my sister, she admired the colors and workmanship, but she wasn’t sure that the short length suited her body. I assured her that it looked the way I had envisioned it on her, but if she wouldn’t be able to use it, I would gladly take it back. I just couldn’t promise her when I would knit her a replacement. So she decided to wear it for a while to see if she could get used to this unfamiliar style, and she seemed to warm to it. If she ends up not wearing it, I’ll take it back and will use the information to come up with something she likes better. Eventually.
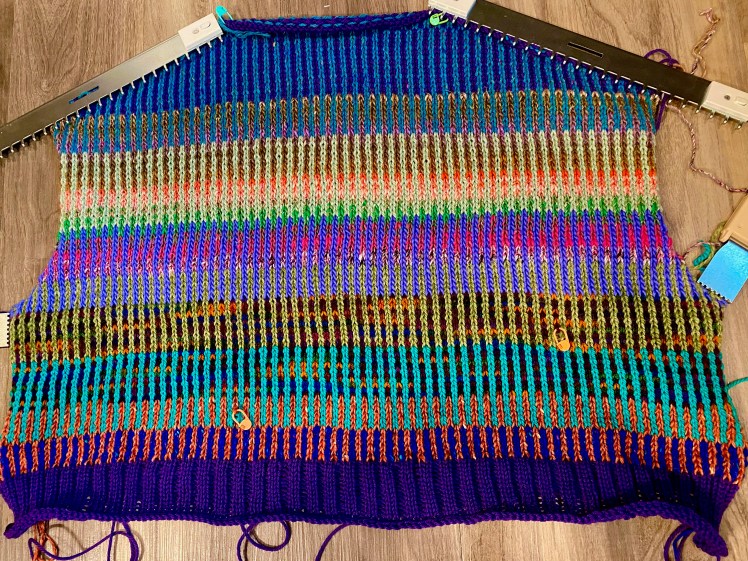
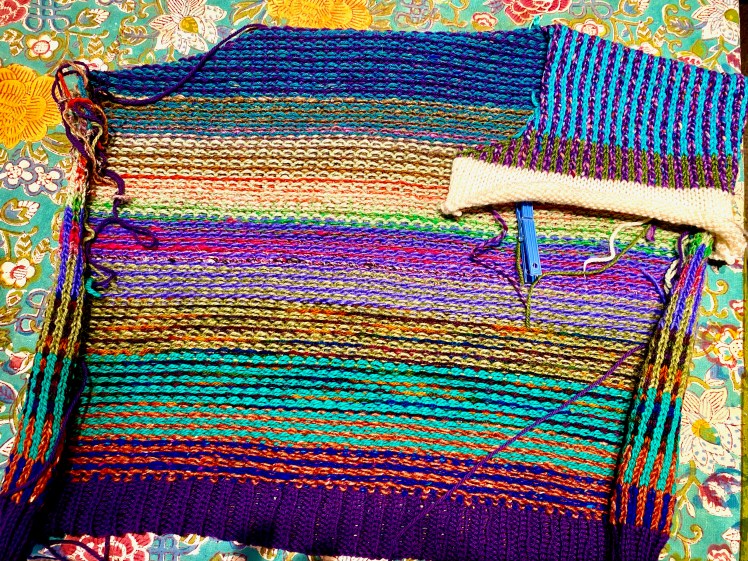
As for the birthday gift for the most important person in my life, I had to wait to come up with a plan that I liked better than replicating Charles’ sweater from years back. He didn’t mind waiting, in fact he probably doesn’t care all that much if I ever knit it. But I would be ashamed not to give him something I was proud of. It’s all right to delay the birthday gift by four, five months, but no observation at all of the birthday is absolutely not all right. I washed and wound the yarn to make sure it was sound enough to work with, since a lot of my plant-dyed yarn hasn’t held up well. While I handled the yarn, a new design came to me. It’s a simple design, simpler than the original sweater, but I think it might be an improvement. I have 20 cakes of blues, greens, yellows, oranges, grays, and browns, which I’m arranging in stripes with as much contrast as I can get using these colors, with two transition rows of 1×1 stranded color alternation between the stripes. I will replace the raglan construction with a simple dropped shoulder for the sleeves.
In Charles’ first sweater, I devised a complicated set of short rows in the raglan shoulders and back to make up for the curve in his back that makes his sweaters ride up at the back. It was a nice thought, but it doesn’t work. He can’t put it on without me swooping in to adjust the neck and shoulders and yank on the back to pull it down to where it’s supposed to be. For this updated version, I’m going to put a pair of short rows into the bottom 10 stripes, between the hem and the bottom of the arm holes for 20 rows of extra length, about two inches. Will it work? We’ll see, but I know what doesn’t work, which is what I did the first time.
I have started with the front.

I’m going to publish this post before I finish the sweater, but I will show pictures of the finished and modeled sweater in a future post, and we’ll see if my new short row scheme does what I hope it will do.
